
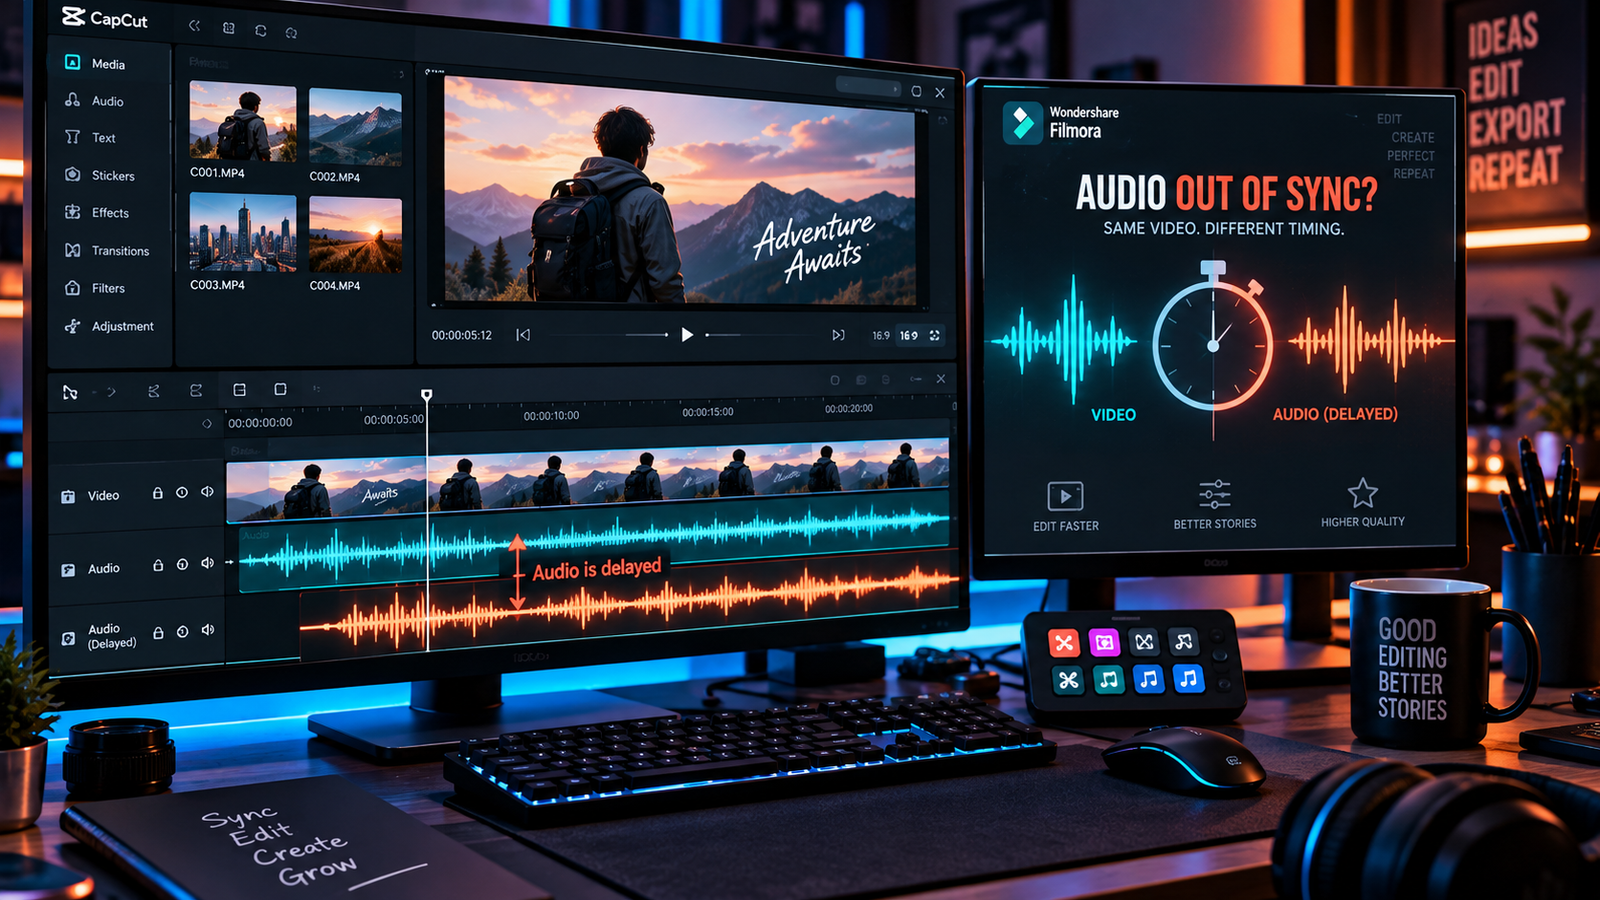

One of the most frustrating problems during video editing is dealing with audio desync where the sound visibly drifts away from the picture. You import a recorded clip, and dialogue matches up cleanly for the opening seconds. As the timeline progresses, the speaker’s lips move, but the voice trails behind by hundreds of milliseconds. Knowing how to fix audio and video out of sync in capcut and filmora is an essential skill when working with smartphone recordings, webcams, or screen captures.
In desktop editors like CapCut Desktop and Wondershare Filmora, audio drift generally stems from two distinct factors: real-time playback preview lag caused by hardware decoding overhead, or progressive timecode drift caused by Variable Frame Rate (VFR) media. When editing bottlenecks break your timeline pacing, understanding how to fix audio and video out of sync in capcut and filmora helps you restore clean lip-sync without abandoning your project.
In this practical troubleshooting guide, we break down 4 proven technical workflows on how to fix audio and video out of sync in capcut and filmora to keep your media aligned from start to finish.
Table of Contents
Why Audio and Video Drift Occurs in Consumer Editors
Audio desync is rarely an arbitrary software bug. When researching how to fix audio and video out of sync in capcut and filmora, understanding these core format characteristics helps you diagnose the root cause:
- Variable Frame Rate (VFR) Timestamps: Smartphones (such as iPhones and modern Android devices) and native consumer screen utilities (like Windows Game Bar) frequently adjust frame delivery based on lighting, thermal constraints, and motion complexity. Because CapCut and Filmora operate on fixed timeline frame intervals, irregular source timestamps lead to cumulative audio drift over long takes.
- Hardware Decoding Preview Stalls: Active GPU acceleration can encounter bottlenecks with specific compressed codecs during timeline scrubbing, introducing playback monitoring lag in your preview window even when the raw source files are synchronized.
- Sample Rate Timeline Overhead: Importing audio recorded at 44.1 kHz into timelines configured for 48 kHz requires the editor to continuously resample audio streams in real time. While resampling alone does not inherently cause progressive drift, matching project rates eliminates unnecessary playback processing overhead.
If your creative pipeline also includes professional editing suites, check our companion walkthrough on how to fix audio out of sync in Premiere Pro for broadcast-level sample alignment techniques.
Method 1: Toggle Hardware Decoding Acceleration for Playback Preview Stalls
If your video appears out of sync exclusively inside the editing preview monitor while playback remains completely synchronized in external media players (or exported renders), GPU decoding overhead inside the editor is a key diagnostic area to test.
(Note: Hardware acceleration adjustments address real-time playback responsiveness and preview stutters; progressive drift across your actual media files is driven by underlying timestamp variations).
In CapCut Desktop:
- Open your project and click Menu in the top-left corner.
- Navigate to Settings > Performance.
- Under the Hardware Acceleration section, uncheck Speed up hardware decoding.
- Click Save, close CapCut completely, and relaunch your project to evaluate timeline playback smoothness.
In Wondershare Filmora:
- Navigate to File > Preferences (or press
Ctrl + Shift + ,). - Switch to the Performance tab.
- Locate the GPU Acceleration section and uncheck Enable Hardware Acceleration for video decoding. Consult the official Wondershare Filmora Support Guide if you need driver compatibility specifications.
- Click OK, restart Filmora, and review your timeline playback.
Testing timeline playback without hardware decoding helps you isolate whether your how to fix audio and video out of sync in capcut and filmora troubleshooting is addressing real-time preview stalls or genuine container-level timecode drift.
Method 2: Convert VFR Footage to Constant Frame Rate (CFR) via HandBrake
If audio desync progressively worsens toward the end of a long video, the variable frame rate is baked directly into the video container. Converting the recording to a Constant Frame Rate (CFR) establishes predictable timecode intervals.
- Download and open the free, open-source transcoder HandBrake.
- Drag and drop your problematic recording into the application.
- Under the Video tab:
- Framerate (FPS): Select a standard rate that matches your target timeline (such as 30 or 60 FPS).
- Framerate Mode: Strictly select the radio button for Constant Framerate (CFR) instead of Peak Framerate.
- Video Codec: Select H.264 for widespread playback compatibility across all editing platforms.
- Quality: Set the Constant Quality slider to a practical baseline between RF 20 and RF 22 to maintain a balanced ratio between visual fidelity and file size. Refer to the official HandBrake Documentation for detailed encoder tuning tips.
- Set your destination folder and click Start Encode in the top toolbar.
- Once complete, import the transcoded CFR file into CapCut or Filmora and replace the problematic clip on your timeline.
Standardizing irregular mobile recordings is the most dependable method on how to fix audio and video out of sync in capcut and filmora when working with lengthy uninterrupted takes.
Applying this conversion step ensures your how to fix audio and video out of sync in capcut and filmora workflow prevents frame drops during playback scrubbing.
💡 Creator Resource: Facing persistent timeline crashes, codec bugs, or export rendering failures? Search our comprehensive Creator Troubleshooting Database: 5,000+ Production Fixes to resolve editing and hardware bottlenecks in seconds.
Method 3: Detach Audio and Manually Align Waveforms (or Use Auto-Sync)
When dealing with short clips or dual-system audio where sound is offset by a fixed margin from the beginning, separating the audio track allows manual or automated sub-frame positioning.
Automated Alignment (Filmora):
If you recorded scratch audio on your camera and clean vocal dialogue on a separate microphone, select both the video clip and external audio clip on your Filmora timeline, right-click, and choose Auto Synchronization. Filmora analyzes matching waveform peaks and snaps them into alignment automatically.
Manual Waveform Alignment (CapCut & Filmora):
- Right-click the video clip on your timeline.
- Select Separate Audio (in CapCut Desktop) or Detach Audio (in Filmora). The audio stream will move to an independent audio track directly beneath the video.
- Zoom in closely on the timeline until individual audio waveform spikes become distinct.
- Locate a sharp transient sound, such as a hand clap, door snap, or prominent vocal plosive (like ‘P’ or ‘B’).
- Hold the
Altkey (to bypass timeline magnetic snapping if necessary) and slide the detached audio track left or right until the audio waveform spike aligns with the exact video frame where physical contact occurs.
Manual track positioning provides immediate precision when learning how to fix audio and video out of sync in capcut and filmora on short dialogue sequences.
Fine-tuning detached audio tracks allows you to master how to fix audio and video out of sync in capcut and filmora whenever visual markers do not align with dialogue tracks.
Method 4: Standardize Project Sample Rates in Filmora
Audio assets operate at specific sample rates, typically 44.1 kHz (44,100 Hz) or 48.0 kHz (48,000 Hz). While modern NLEs resample audio streams internally, aligning your project timeline with your primary media source prevents unnecessary processing overhead and ensures clean playback.
- Check your source recording’s audio sample rate by inspecting its file properties.
- In Wondershare Filmora, go to File > Project Settings.
- Under the Audio section, check the Sample Rate dropdown.
- Select the sample rate that matches your recorded media (such as standardizing on 48000 Hz for video productions or 44100 Hz for standard audio tracks).
- Click OK to apply the configuration.
Maintaining sample rate consistency between your recorded assets and project settings is an effective workflow practice on how to fix audio and video out of sync in capcut and filmora across multi-track edits.
If you also produce live broadcasts or gameplay captures, read our guide on how to fix obs dropped frames to maintain stable bitrates and prevent frame loss before importing clips into your editor.
CapCut & Filmora Audio Desync Troubleshooting Matrix
Use this quick-reference matrix to guide your process on how to fix audio and video out of sync in capcut and filmora based on your timeline symptoms:
| Problem Indicator | Likely Root Cause | Recommended Troubleshooting Action |
|---|---|---|
| Audio drifts progressively worse over time | Variable Frame Rate (VFR) timestamps | Transcode footage to Constant Frame Rate (CFR) via HandBrake |
| Stutters in preview but exports cleanly | GPU hardware decoding overhead | Disable hardware decoding in Performance preferences |
| Audio is offset by an identical gap throughout | Clip placement or capture initiation delay | Detach audio track and manually snap waveform transients |
| Dual audio sources out of alignment | Unsynchronized independent recorders | Use Filmora Auto Synchronization or manually match audio slates |
Frequently Asked Questions (FAQ)
Why does audio drift out of sync gradually in CapCut and Filmora?
Progressive audio desync across long recordings is usually caused by Variable Frame Rate (VFR) media from smartphones or screen capture tools. Because the frame rate dynamically fluctuates while audio remains fixed, timeline timestamps diverge over time. Transcoding your file to Constant Frame Rate (CFR) resolves this timing discrepancy.
Does turning off hardware acceleration reduce exported video quality?
No. Hardware acceleration settings in CapCut and Filmora preferences only dictate how your GPU handles real-time timeline decoding and playback previews. Disabling hardware decoding does not compromise export quality; it simply relies on CPU rendering to ensure preview stability.
What is the fastest way to fix audio and video out of sync in CapCut without external tools?
For fixed-offset delays on short clips, right-click the video and choose Separate Audio. Zoom into the timeline and manually drag the audio waveform until a distinct vocal plosive or clapper sound matches the corresponding video action.