
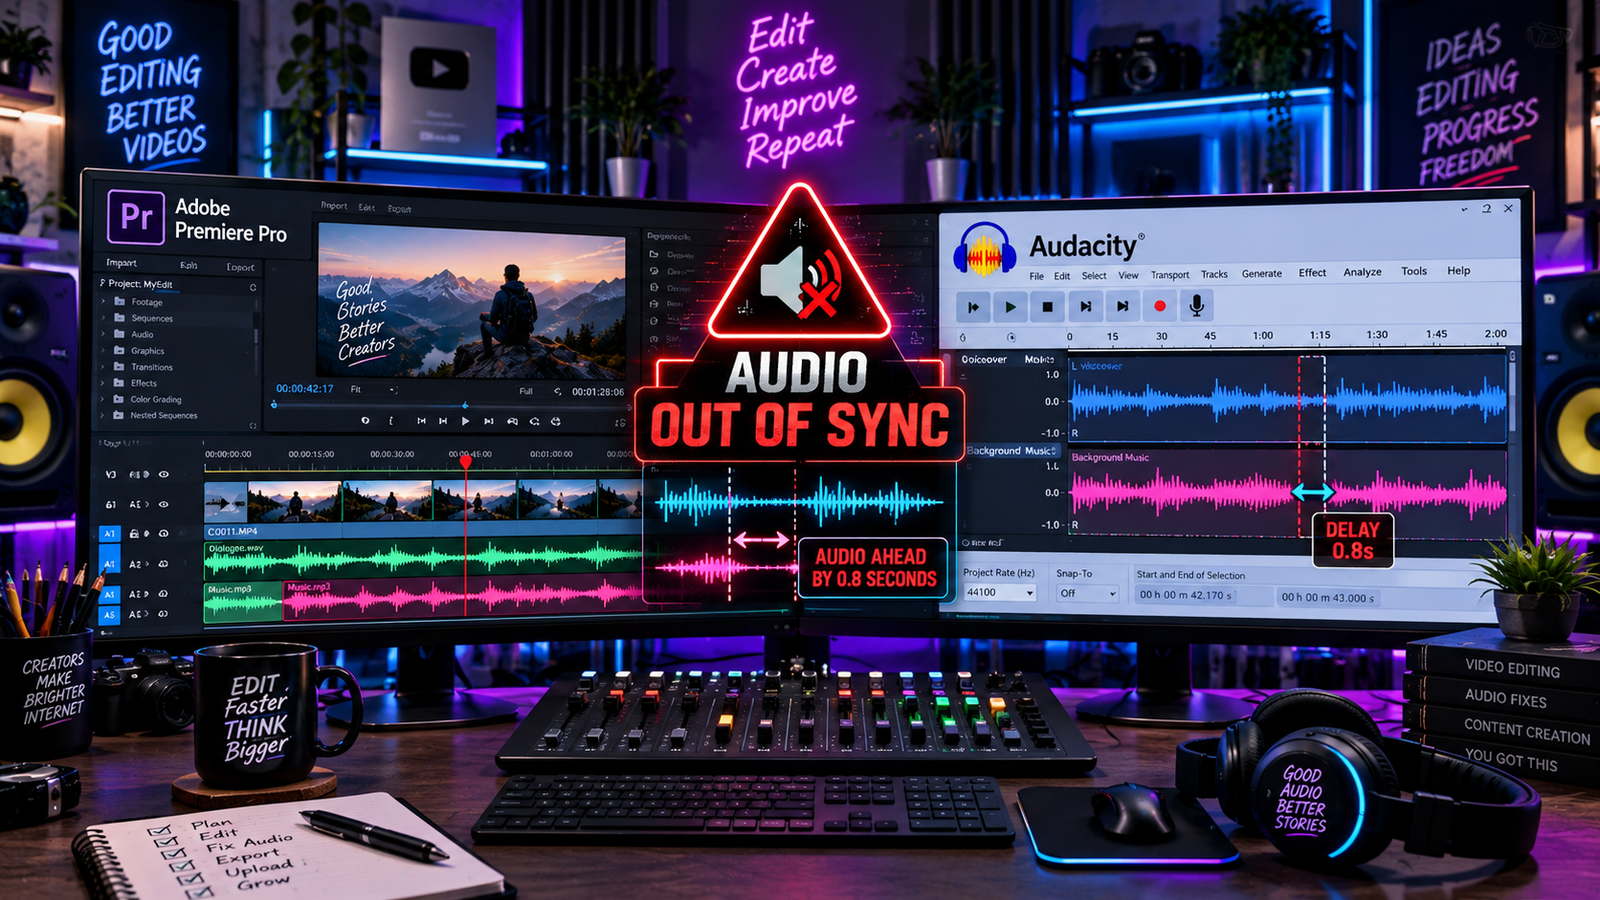
Editing a multi-camera interview or gameplay recording only to notice dialogue gradually drifting away from lip movements is one of the most tedious hurdles in post-production. Knowing how to fix audio out of sync in premiere pro is an essential workflow skill when dealing with variable frame rates, external sound recorders, stale preview caches, or hardware buffer latency.
In Premiere Pro, desync generally divides into two distinct categories: immediate playback monitoring delay inside your timeline, or progressive cumulative drift across lengthy takes. When your timeline cuts lose synchronicity, understanding how to fix audio out of sync in premiere pro allows you to realign your audio waveforms without destroying edit points or rebuilding projects from scratch.
In this practical technical guide, we break down 5 tested methods on how to fix audio out of sync in premiere pro to help you re-establish rock-solid audio alignment across your timeline.
Table of Contents
Primary Reasons Audio Desyncs in Premiere Pro
Audio and video desync stems from multiple hardware and media pipeline variables rather than a single isolated software bug:
- Variable Frame Rate (VFR) Ingestion: Footage recorded on smartphones, webcams, or screen capture software frequently fluctuates frame rates based on lighting or scene complexity, causing video timestamps to drift apart from constant audio clocks.
- Mismatched Sample Rate Pipelines: While Premiere automatically conforms mismatched media into sequence sample rates, mixing inconsistent source rates across external sound assets can occasionally introduce playback friction or timeline conversion overhead.
- Audio Buffer Playback Latency: Oversized I/O audio hardware buffers can introduce monitoring delay in the Program Monitor, giving the false impression of desynced media during playback even when timeline clips are physically aligned.
- Stale Media Cache Files: Damaged or outdated conformed audio files (
.cfa) and peak files (.pek) can cause Premiere to display incorrect waveform peaks or cause stuttering playback during editing.
If your creative pipeline also includes live multi-track broadcasting, review our dual pc streaming setup audio guide to prevent clock drift and ground hum before recording begins.
Method 1: Clear Premiere Media Cache and Conform Files
Premiere Pro generates peak files (.pek) and conformed audio files (.cfa) to process audio tracks smoothly. If these cache files become corrupt or point to outdated scratch directories, your timeline audio can exhibit playback stutters, misaligned visual waveforms, or monitoring hitches.
- Close Premiere Pro completely.
- Launch Premiere Pro and open the home screen (do not open your active project yet).
- Navigate to Edit > Preferences > Media Cache (on macOS: Premiere Pro > Preferences > Media Cache).
- Locate the Remove Media Cache Files section and click Delete.
- Select Delete all media cache files from the system and confirm.
- Reopen your project. Premiere will regenerate fresh peak waveforms and conformed streams at the bottom right of the workspace.
Clearing scratch data provides a clean slate when investigating how to fix audio out of sync in premiere pro before modifying sequence properties.
Method 2: Configure ASIO Driver and Buffer Size for Monitoring Latency
If your audio plays out of sync in the Program Monitor but exports cleanly, the bottleneck is playback monitoring latency caused by oversized audio interface buffers rather than permanent timeline drift.
- Open your project and navigate to Preferences > Audio Hardware.
- On Windows, verify that Device Class is set to ASIO (using your dedicated audio interface driver) rather than high-latency MME.
- Review the I/O Buffer Size (or Latency slider in ASIO control panels).
- Step down to the lowest stable buffer setting supported by your system without causing audio dropouts or crackles (common working baselines range around 128 or 256 samples).
- In multi-device digital setups, verify that your digital master clock source correctly synchronizes with your active connected audio hardware. Consult the official Adobe Premiere Pro Audio Troubleshooting Guide for detailed interface driver recommendations.
- Click OK and play back your timeline to evaluate real-time sync.
Distinguishing monitoring delay from recorded drift is a crucial diagnostic step when mastering how to fix audio out of sync in premiere pro.
Method 3: Convert Variable Frame Rate (VFR) Footage to CFR
Footage captured from smartphones, webcams, or screen recorders often contains Variable Frame Rates. Because professional timelines rely on steady timecode structures, VFR footage frequently experiences cumulative drift where audio and video align at the start of a clip but separate minutes later.
(Note: While some editors attempt to use Modify > Interpret Footage > Assume this frame rate, doing so changes overall clip playback speed and alters audio duration proportionally, which can exacerbate timing errors. Transcoding to a Constant Frame Rate is the reliable, industry-standard fix).
- Download and install the free transcoder HandBrake.
- Load your problematic VFR video file.
- Under the Video tab, locate the Framerate (FPS) settings.
- Select a standard frame rate (such as 29.97, 30, or 60 FPS) and strictly check Constant Framerate (CFR) instead of Peak Framerate.
- Set your encoder to H.264 with a quality preset suited to your production.
- Export the newly transcoded CFR video.
- In Premiere Pro, right-click the original VFR clip in your Project panel, choose Replace Footage, and select your newly transcoded CFR file.
Eliminating inconsistent frame timing remains the most reliable strategy on how to fix audio out of sync in premiere pro when working with mobile recordings.
💡 Creator Resource: Facing persistent encoder crashes, timeline audio bugs, or plugin render errors? Search our comprehensive Creator Troubleshooting Database: 5,000+ Production Fixes to diagnose and resolve editing bottlenecks in seconds.
Method 4: Standardize Audio Sample Rates via Resampling
When importing dialogue recorded across separate secondary hardware, mixing divergent sample rates (such as 44.1 kHz voice memos in a 48 kHz video sequence) can force continuous real-time conforming. Resampling assets to match your timeline rate ensures consistent playback behavior.
(Note: Resampling changes sample density without modifying playback speed or duration. If your separate recording devices suffer from genuine physical oscillator drift over multi-hour takes, slight timeline speed stretching via Clip > Speed/Duration will also be needed alongside rate matching).
- If an audio clip requires format standardization, open the source file in an audio editor like Audacity.
- Identify your target sequence sample rate (standard broadcast video typically utilizes 48,000 Hz).
- Navigate to Tracks > Resample and choose your target sequence rate to standardize sample delivery. Refer to the official Audacity Resampling Documentation for filter quality parameters.
- Export the file as an uncompressed WAV file.
- Import the newly resampled WAV into Premiere Pro and verify seamless alignment across your edit points.
Enforcing sample-rate consistency across all media assets is a proven technique on how to fix audio out of sync in premiere pro across complex multi-format edits.
Method 5: Use “Show Audio Time Units” for Sub-Frame Precision
Standard timeline editing in Premiere snaps cuts to individual video frames (e.g., 1/24th, 1/30th, or 1/60th of a second). Because audio travels continuously, a visual lip-sync transient might fall between frame boundaries, making frame-locked alignment appear slightly off.
- Navigate to your primary Timeline panel.
- Click the wrench icon (or the panel menu next to the sequence name).
- Check Show Audio Time Units.
- The timeline ruler will now display precise audio samples and milliseconds instead of video frames.
- Unlink your video and audio tracks (press
Ctrl + L/Cmd + Lor temporarily holdAlt/Option). - Zoom in closely to your alignment transient (such as a clap or vocal plosive) and nudge the audio track smoothly with sub-frame audio-sample-level precision.
- Once aligned, right-click both clips and select Link to lock the synchronized relationship.
Using sample-accurate alignment completes your technical toolkit on how to fix audio out of sync in premiere pro for broadcast-standard accuracy.
If your workflow also involves live broadcast streaming alongside editing, check our practical guide on how to fix obs dropped frames to maintain stable bitrates during recording.
Troubleshooting Audio Desync in Premiere Pro Matrix
| Problem Indicator | Likely Root Cause | Recommended Troubleshooting Action |
|---|---|---|
| Audio drifts progressively over long clips | Variable Frame Rate (VFR) capture | Transcode to Constant Frame Rate (CFR) via HandBrake |
| Sync is off in playback, but clean on export | Oversized audio hardware I/O buffer | Lower buffer size in Audio Hardware preferences |
| Separate external audio drifts out over hours | Physical hardware oscillator clock drift | Adjust timeline playback speed slightly or split and align cuts |
| Audio transient falls between video frames | Frame-snapping grid limitation | Enable “Show Audio Time Units” for sub-frame sample nudging |
Frequently Asked Questions (FAQ)
Why does audio drift out of sync gradually over a long clip in Premiere Pro?
Gradual, progressive desync is commonly caused by Variable Frame Rate (VFR) media recorded on smartphones or screen capture utilities, as well as independent hardware clock drift between separate recording devices. Transcoding variable-rate footage to Constant Frame Rate (CFR) eliminates irregular timestamp fluctuations, while clips from separate recording devices with physical clock drift require fine timeline speed adjustments.
What is the difference between monitoring latency and true recorded desync?
Monitoring latency is a real-time playback delay caused by high I/O buffer settings in your audio hardware preferences; the exported video will still play in perfect sync. True recorded desync exists in the media itself, meaning the audio waveform and video frames are physically misaligned on the timeline and will remain out of sync in final renders.
Why should I use Show Audio Time Units to fix audio out of sync in Premiere Pro?
Standard video editing restricts clip movements to the boundary of a single video frame. Enabling Show Audio Time Units unlocks sub-frame precision, allowing you to slide audio waveforms by milliseconds and individual audio samples to match lip movements perfectly.