
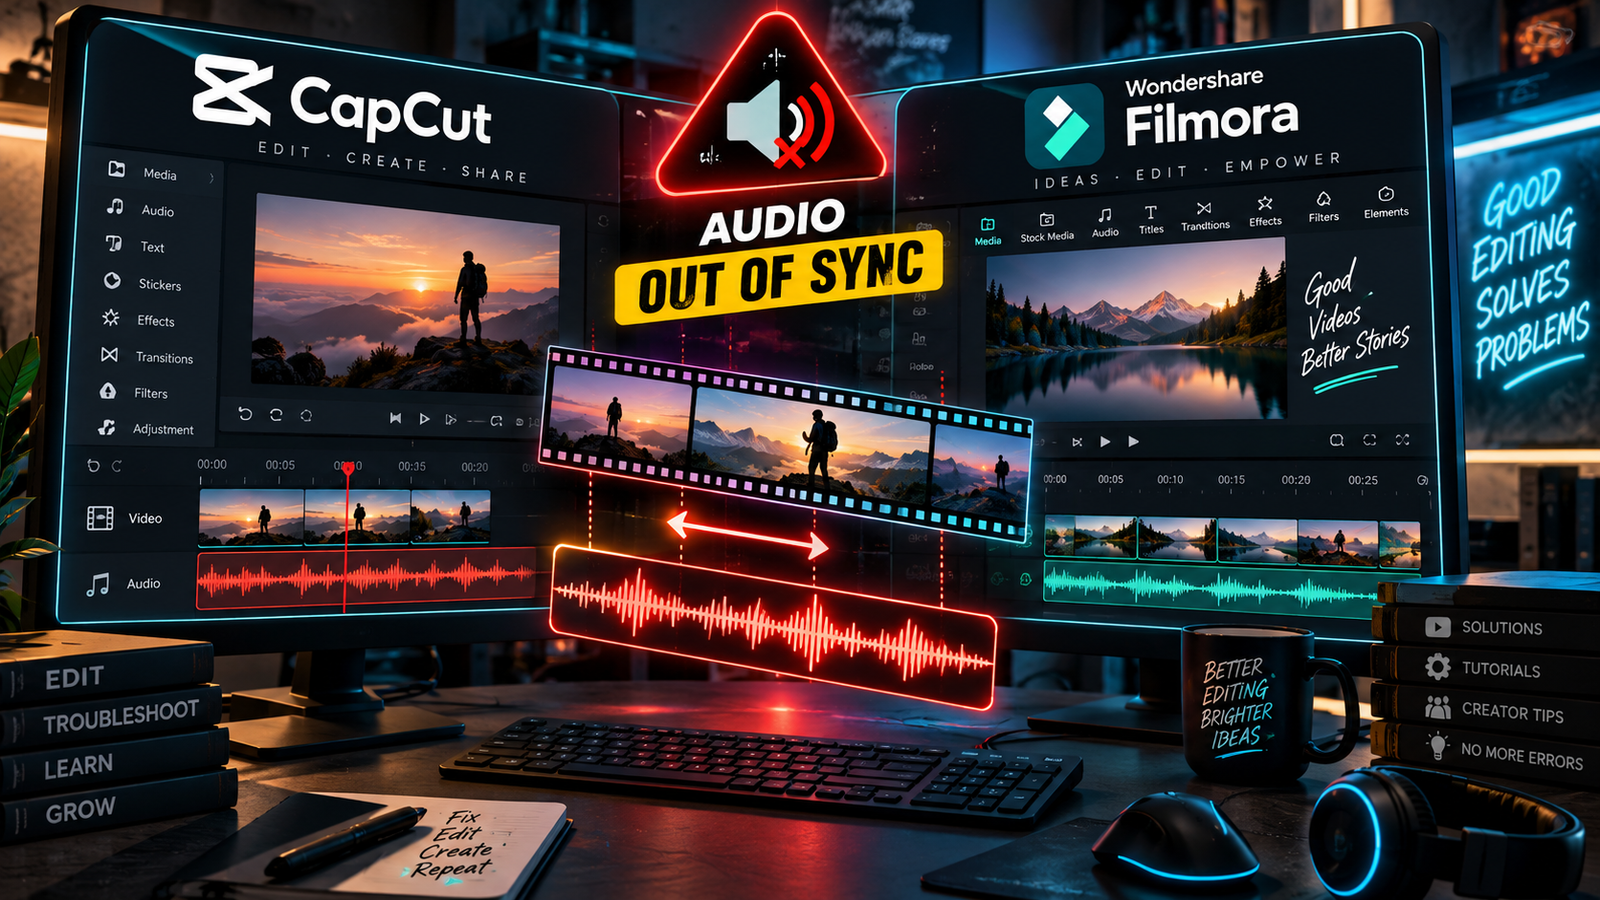
One of the most frustrating problems during video editing is dealing with audio out of sync issues where the sound visibly drifts away from the picture. You import a recorded clip, and everything seems fine for the first thirty seconds. As the timeline progresses, the speaker’s lips move, but the voice lags behind by half a second.
This issue commonly strikes creators editing screen recordings, smartphone footage, or high-frame-rate gaming videos in CapCut and Wondershare Filmora.
Here is why this desync happens and four direct methods to resolve your audio out of sync errors without losing project progress.
Table of Contents
Why Audio Out of Sync and Video Drift Happens
In over 80% of cases, the root cause is Variable Frame Rate (VFR).
Smartphones (iPhones and modern Android devices), screen recorders (OBS, Windows Game Bar), and webcams do not record at a steady frame rate. To save file size or handle sudden hardware drops, they switch frame rates dynamically between 24 FPS and 60 FPS.
Video editors like CapCut and Filmora operate on a strict Constant Frame Rate (CFR) timeline (such as 30.00 FPS or 60.00 FPS). When a VFR clip is placed on a CFR timeline, the software miscalculates the audio sampling points over time, resulting in progressive audio drift.
Method 1: Turn Off Hardware Acceleration Temporarily
(If you are also facing rendering crashes or export failures while changing these GPU settings, check our detailed guide on how to fix Filmora export error).
Hardware decoding sometimes drops video frames while processing the audio stream at normal speed, causing an artificial audio out of sync delay inside the preview monitor.
In CapCut Desktop:
- Open the project and click Menu (top-left corner).
- Go to Settings > Performance.
- Under Hardware Acceleration, uncheck Speed up hardware decoding.
- Restart CapCut and play the timeline again.
In Filmora:
- Click File > Preferences (or press
Ctrl + Shift + ,). - Switch to the Performance tab.
- Uncheck Enable Hardware Acceleration for video decoding.
- Click OK, restart Filmora, and test your timeline playback.
Method 2: Convert VFR to CFR Using HandBrake (Permanent Fix)
Download and open HandBrake (free, open-source video converter).
If the delay is baked into the footage itself, converting the file to a standard constant frame rate permanently prevents files from falling audio out of sync before editing.
- Download and open HandBrake (free, open-source video converter).
- Drag and drop your problematic video into the window.
- Under the Video tab:
- Select Framerate (FPS): Choose
30or60(match your recording). - Select the radio button: Constant Framerate (CFR).
- Select Framerate (FPS): Choose
- Set the Quality slider to
RF 20or22(preserves original visual quality without bloating size). - Click Start Encode at the top.
- Replace the old footage on your timeline with this new file. The audio sync will remain locked from start to finish.
Method 3: Detach Audio and Manually Re-align
When dealing with a quick cut where only a small portion is audio out of sync, detaching the audio track gives you frame-by-frame control.
- Right-click the video clip on your timeline.
- Select Separate Audio (in CapCut) or Detach Audio (in Filmora).
- The audio will move to a dedicated lower track.
- Zoom in completely on the timeline until you see individual audio waveform spikes (such as a clap, hand hit, or distinct plosive sound like ‘P’ or ‘B’).
- Hold
Alt(to disable magnetic snapping if needed) and nudge the audio track left or right until the waveform peak matches the exact visual contact frame.
Method 4: Change Timeline Sample Rate to 48,000 Hz
Mismatch between audio sampling rates can introduce minute micro-delays that grow over long recordings.
- Most smartphone microphones and professional USB mics record at 48 kHz (48,000 Hz).
- Many default project presets open in 44.1 kHz (44,100 Hz).
Check your project settings before importing media:
- In Filmora: Click File > Project Settings and ensure the sample rate matches your source audio (set to
48000 Hz). - In CapCut: On the final export window, expand the Audio dropdown and select
48000 Hzinstead of default project rates.
Summary Checklist for Future Recordings
To avoid dealing with audio out of sync problems on future video projects:
- In OBS Studio: Always set output recording mode to CFR under Advanced Output Settings.
- On Smartphones: Use third-party camera apps (like Blackmagic Camera or Open Camera) that lock the recording to strict constant frame rates rather than automatic dynamic frame adjustments.
Ise paste karke upar Save draft par click kijiye, Rank Math ke saare basic errors green tick ho jayenge.