
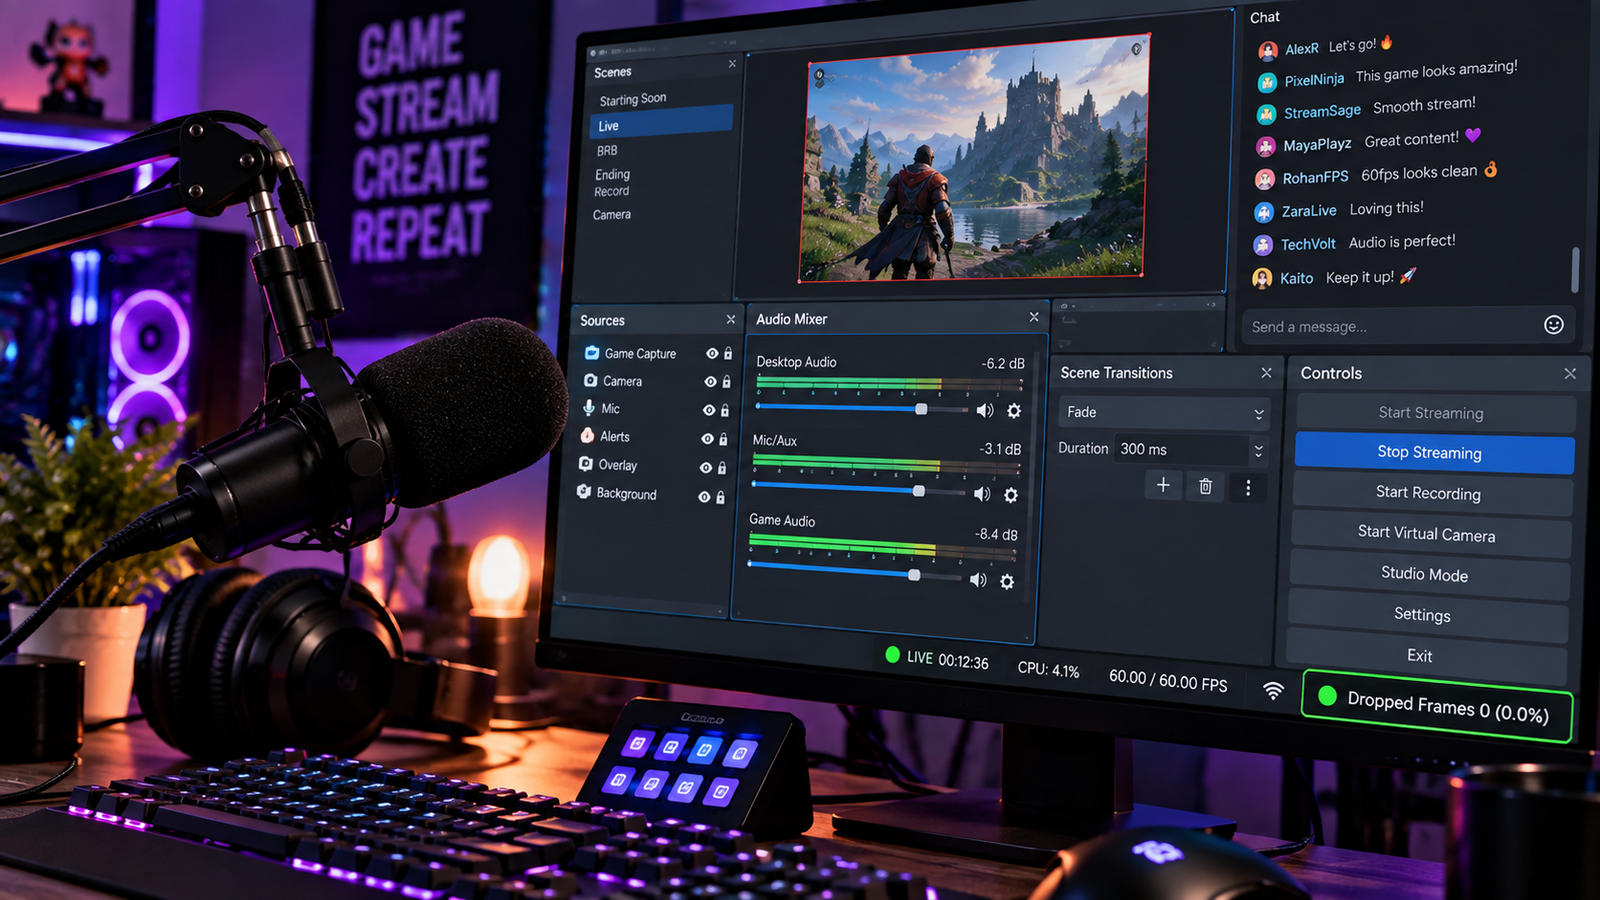
Broadcasting a live stream only to watch your viewers complain about constant buffering and stuttering is a frustrating technical roadblock. Knowing how to fix obs dropped frames is essential for maintaining smooth playback, stable bitrates, and a professional live broadcast across YouTube, Twitch, or Kick.
In OBS Studio, timeline stuttering and frame losses originate from three distinct technical bottlenecks: network-level dropped frames, GPU rendering lag, or processor-level encoding lag. When your outbound broadcast begins discarding video data, learning how to fix obs dropped frames helps you isolate the exact stage that is failing and restore a smooth viewing experience.
In this practical guide, we walk you through 5 tested troubleshooting steps on how to fix obs dropped frames to help eliminate network bottlenecks and resource overload across your streaming sessions.
Table of Contents
Diagnosing Frame Loss: Network vs. Rendering vs. Encoding Lag
Before modifying software parameters, check the OBS Studio bottom status bar and open the dedicated Stats window (Docks > Stats). OBS explicitly differentiates between three separate performance bottlenecks:
- Dropped Frames (Network): Your outbound internet connection or server route cannot deliver data fast enough. Outbound packets back up in the socket buffer until OBS is forced to discard them.
- Frames Missed Due to Rendering Lag: Your graphics card lacks the compute headroom needed to composite your scene canvas, layout assets, and video sources before encoding begins.
- Skipped Frames Due to Encoding Lag: Your selected hardware or software encoder cannot compress video frames within the required time window at your current preset and resolution.
If your entire hardware pipeline is newly assembled, check our foundational live streaming setup guide to confirm your baseline canvas resolutions and encoder selection.
Method 1: Lower Video Bitrate and Enable Dynamic Bitrate
Network dropped frames occur when your configured bitrate exceeds your sustained upload throughput, causing outbound video packets to queue up until network buffers overflow.
- Open OBS Studio and navigate to Settings > Output.
- Set Output Mode to Advanced and inspect your Video Bitrate under the Streaming tab.
- Align your target bitrate with your platform guidelines and measured upload throughput. For standard H.264 broadcasts on YouTube, the recommended target is 12 Mbps (12,000 Kbps) for 1080p60 and 6 Mbps (6,000 Kbps) for 720p60 (adjust downward if your sustained connection requires more safety headroom). For platforms with strict limits like Twitch, set 1080p60 around 6,000 Kbps. Reference the official YouTube Live Encoder Settings for platform-specific specifications.
- Next, navigate to Settings > Advanced > Network.
- Check the box for Dynamically change bitrate to manage congestion.
- Click Apply and OK.
While Dynamic Bitrate does not resolve underlying ISP line instability, it allows OBS to temporarily step down your streaming bitrate during upload dips. This dynamic adjustment helps clear socket buffers rather than immediately discarding network frames, making it an essential diagnostic technique when exploring how to fix obs dropped frames.
Method 2: Change Streaming Ingest Server and Test Routing Stability
A congested ingest server node or upstream ISP transit hop can trigger substantial network dropped frames even when standard local speed tests show normal bandwidth.
- In OBS Studio, navigate to Settings > Stream.
- Under Server, change the selection from Auto (Recommended) to a specific manual server node geographically close to your location.
- If streaming to YouTube and encountering packet loss, switch your ingest target to the secondary backup RTMP ingest server URL to bypass congested edge nodes.
- For Twitch broadcasters, run the third-party TwitchTest utility to benchmark server nodes, comparing ping latency and measured connection quality to select the most stable ingest endpoint.
- If server routing problems persist, review the official OBS Project Help Portal for advanced connection diagnostics and protocol binding options.
Switching to an alternate server route helps determine whether your how to fix obs dropped frames troubleshooting should focus on regional ISP peering rather than local software settings.
Method 3: Cap In-Game Frame Rates to Free GPU Rendering Headroom
Unlike network drops, Frames Missed Due to Rendering Lag occurs when a PC game saturates the graphics card, leaving insufficient GPU headroom for OBS to draw the scene canvas.
- Launch your PC game and open its Graphics / Display Settings.
- Locate the Frame Rate Limit or Max FPS setting.
- Cap your frame rate to a stable target (such as 60 FPS, 120 FPS, or 144 FPS) or lower heavy graphics presets to leave GPU processing room for background rendering.
- In Windows, verify that Game Mode is toggled ON under Settings > Gaming > Game Mode to allow Windows to optimize background resource handling.
- Always launch OBS Studio with administrative privileges: right-click your OBS Studio shortcut and select Run as administrator.
Running OBS as an administrator allows the software to request reserved GPU capacity directly from Windows, preventing 3D game engines from starving OBS of the rendering headroom required to composite frames. Managing graphics load effectively is a vital step when determining how to fix obs dropped frames caused by rendering stalls.
💡 Creator Resource: Running into persistent encoder crashes, audio desync, or hardware driver errors? Search our comprehensive Creator Troubleshooting Database: 5,000+ Production Fixes to diagnose and resolve streaming bugs in seconds.
Method 4: Switch to Dedicated Hardware Video Encoding
Skipped Frames Due to Encoding Lag happens when your CPU or GPU encoder cannot compress frames fast enough. Offloading compression to specialized hardware silicon frees system resources.
- Open OBS Studio and go to Settings > Output.
- Ensure Output Mode is set to Advanced.
- Under the Streaming tab, locate the Video Encoder dropdown.
- Select your hardware encoder: choose NVIDIA NVENC H.264 for GeForce GPUs, AMD HW H.264 for Radeon GPUs, or Intel QuickSync for compatible Intel systems.
- Set your Rate Control to CBR (Constant Bitrate) and Keyframe Interval to 2 s.
- Configure your encoder preset appropriately:
- NVIDIA NVENC: Select P5: Slow (Good Quality) or P4: Medium to balance encoding load and visual clarity.
- AMD AMF: Select the Quality or Balanced preset based on your system configuration.
Offloading compression to hardware can significantly reduce encoding lag on single-PC streaming setups. If you also route commentary feeds and game sound through a secondary computer, consult our dual pc streaming setup audio guide to maintain synchronized audio without latency.
Method 5: Optimize Internal Network Settings and Cable Connections
Physical network adapter configurations and wireless instability frequently trigger recurring network dropped frames.
- In OBS Studio, navigate to Settings > Advanced > Network.
- Check Enable network optimizations to let OBS utilize optimized socket event loops.
- Check Enable TCP pacing to help smooth out outgoing packet bursts across variable connections.
- Whenever possible, connect your streaming computer directly to your router using a certified Cat6 Ethernet cable rather than Wi-Fi to significantly reduce wireless interference and transmission jitter.
- Optional Adapter Diagnostics: If you suspect physical link power throttling, open Device Manager, inspect your Ethernet adapter Properties > Advanced, and test disabling Energy Efficient Ethernet to prevent sleep-state drops.
Refining socket optimizations and prioritizing wired connections completes your technical roadmap on how to fix obs dropped frames across local network hardware.
Troubleshooting OBS Dropped Frames Checklist
| Status Bar Indicator | Pipeline Category | Primary Cause | Recommended Troubleshooting Action |
|---|---|---|---|
| Dropped Frames (Network) | Network / Ingest | Upload saturation or routing congestion | Lower bitrate, test alternate server, enable Dynamic Bitrate |
| Frames Missed (Rendering Lag) | GPU Compositing | 3D game engine maxing out GPU load | Cap in-game frame rates, run OBS as administrator |
| Skipped Frames (Encoding Lag) | Video Compression | Processor bottleneck or heavy encoder preset | Switch to hardware NVENC/AMF; select Balanced/Medium preset |
| Fluctuating Upload Throughput | Network Hardware | Wi-Fi channel interference or packet jitter | Switch to wired Cat6 Ethernet; enable network optimizations |
Frequently Asked Questions (FAQ)
What causes dropped frames in OBS with fast internet?
A high download speed test does not guarantee a stable upstream broadcast connection. Dropped frames specifically point to upstream bottlenecks, including packet loss along ISP transit routes, local router buffer congestion, or momentary server stalls on the ingest platform.
Does running OBS as administrator help prevent dropped frames?
Running OBS Studio as administrator specifically addresses rendering lag, not network dropped frames. In Windows, administrative rights allow OBS to request reserved GPU capacity, preventing games from starving OBS of the resources needed to draw scene frames.
Why is dynamic bitrate important when learning how to fix obs dropped frames?
Dynamic bitrate acts as a safety buffer during momentary upload fluctuations. Instead of keeping a rigid bitrate target that overflows network buffers and drops frames, OBS temporarily throttles down outbound bitrate, helping keep the broadcast live while you diagnose root network issues.