
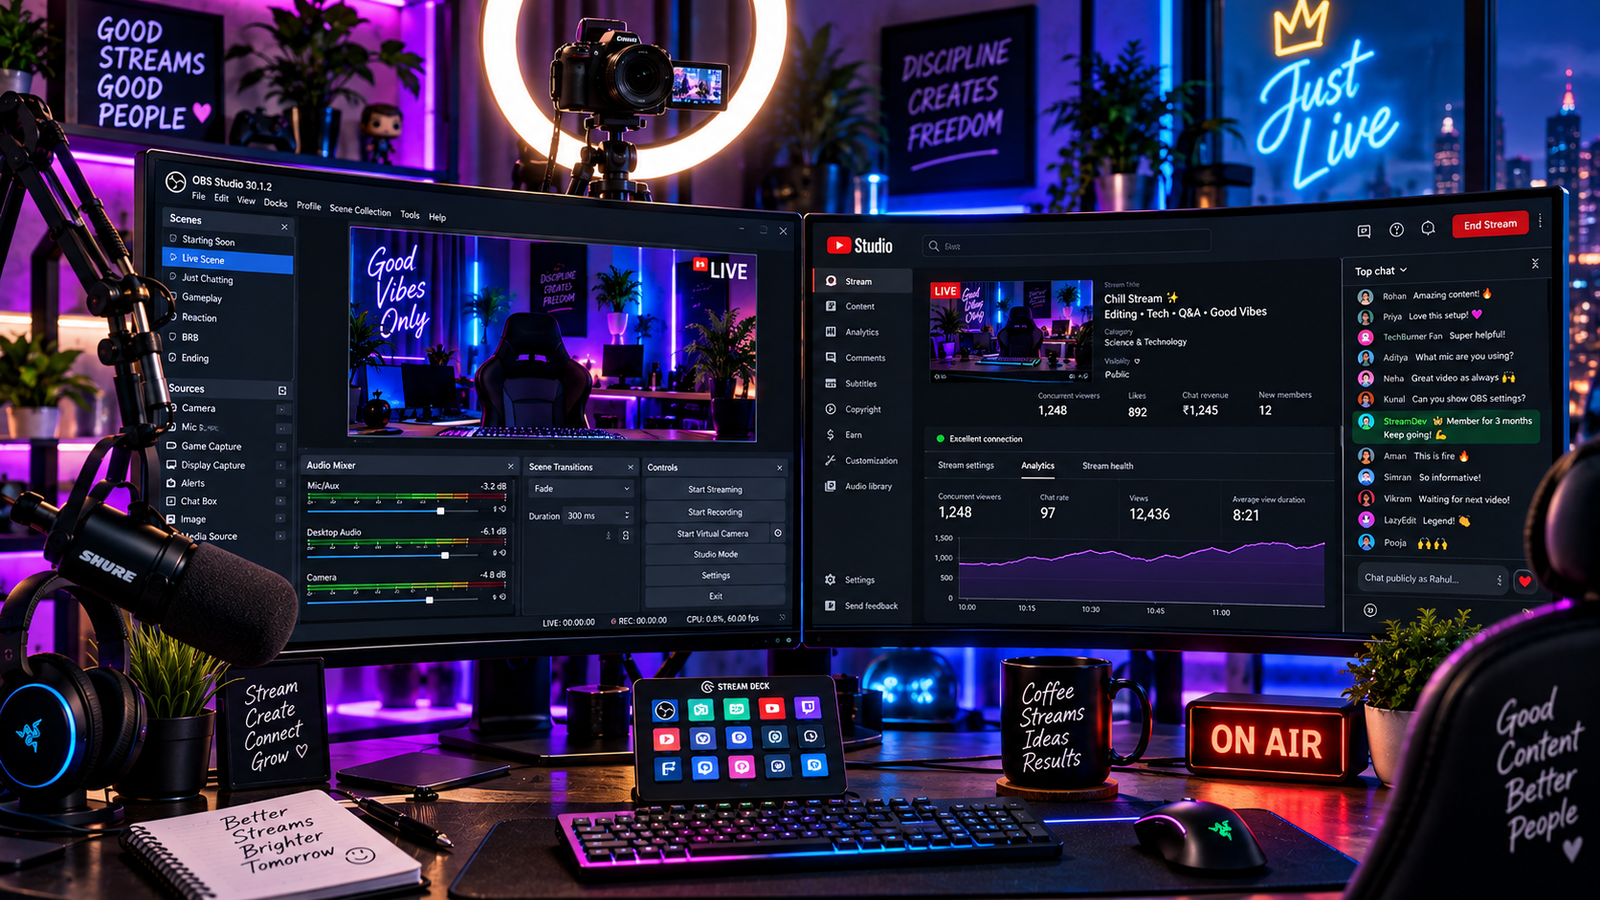
Launching a high-quality broadcast requires more than hitting the go-live button. Following an end-to-end live streaming setup guide ensures you avoid amateur mistakes like dropped frames, desynced audio, and muddy webcams before greeting your first audience.
Whether you are broadcasting gaming sessions on YouTube, hosting live business webinars, or producing podcasts, building a resilient pipeline is non-negotiable. Modern streaming demands a balance between reliable hardware, optimal encoding rates, and clean audio routing, which is why following a dedicated live streaming setup guide is essential.
Here are 5 proven technical steps in this live streaming setup guide to transition from zero to a professional broadcast rig.
Table of Contents
Why Hardware Architecture Matters for Live Streaming
Viewers will tolerate a 720p video feed, but they will instantly leave a stream with crackling audio or stuttering frame rates. A complete broadcast pipeline covered in this live streaming setup guide consists of three core layers: capture, encoding, and networking.
If your central processor handles gameplay rendering and software video encoding simultaneously without dedicated overhead, your encoder will choke. Offloading this workload to dedicated hardware encoders like NVIDIA NVENC or AMD AMF ensures fluid playback without crashing your system, an approach emphasized throughout this live streaming setup guide.
High-production streams also require stable media assets. (If your pre-recorded video sequences suffer render freezes during stream preparation, read our guide on how to fix GPU render errors in Premiere Pro to keep your pipeline crash-free).
Method 1: Build the Core Hardware Pipeline
A beginner setup does not need cinema cameras, but it must separate key responsibilities across dedicated gear as outlined in our live streaming setup guide:
- Camera Input: Avoid basic 720p built-in laptop lenses. Start with a dedicated 1080p 60fps USB webcam or mirrorless camera paired with an HDMI capture card. Place the lens at eye level to establish authentic eye contact.
- Audio Capture: Use a cardioid dynamic USB microphone rather than a sensitive condenser mic. Dynamic capsules reject keyboard clicks, PC fan whirls, and untreated room echo.
- Key Lighting: Position a diffused LED panel or ring light at a 45-degree angle to your face. Proper lighting reduces camera sensor grain and sharpens auto-focus tracking.
- Monitoring: Always stream with closed-back studio headphones to prevent desktop audio loopback into your live microphone.
Method 2: Configure Dedicated Encoder Settings in OBS Studio
Using the right encoder settings in this live streaming setup guide prevents encoding overload and timeline stutter.
- Download and install the latest build from the official OBS Project portal.
- Open Settings > Output and change Output Mode to Advanced.
- Under the Streaming tab, set your Video Encoder to NVIDIA NVENC H.264 (or AMD HW H.264) instead of software x264.
- Set Rate Control to CBR (Constant Bitrate).
- Input your target bitrate based on your broadcast resolution:
- 1080p at 60fps: 6,000 Kbps to 8,000 Kbps
- 720p at 60fps: 4,000 Kbps to 4,500 Kbps
- Set Keyframe Interval strictly to 2 seconds and select the Quality preset.
Method 3: Lock Audio Sample Rates and Eliminate Sync Lag
Audio desynchronization destroys live productions. Mismatched sample rates between your microphone driver and streaming software cause sound to drift over long broadcasts.
- Inside OBS Studio, navigate to Settings > Audio.
- Verify that Sample Rate is set strictly to 48 kHz.
- Open Windows Sound Settings, click More sound settings, and inspect your microphone’s Advanced Properties. Confirm that the default format matches 2 channel, 24-bit, 48000 Hz.
- In OBS, click the three dots next to your mic in the Audio Mixer and select Filters.
- Add a Noise Suppression filter (choose RNNoise) followed by a gentle Limiter set to -2.0 dB to eliminate digital clipping. Applying these checks in our live streaming setup guide stops audio distortion during energetic live moments.
Method 4: Secure Network Stability and Ethernet Uplink
Dropping frames due to network congestion indicates an unstable connection between your encoder and the streaming ingest server. Maintaining connection health is a fundamental rule in any complete live streaming setup guide:
- Never broadcast over Wi-Fi. Always connect your streaming PC via a direct Cat6 Ethernet cable to your router.
- Perform an upload speed test. Your stable upload speed should be at least double your streaming bitrate (for an 8 Mbps stream, ensure a consistent 20 Mbps upload buffer).
- In OBS, navigate to Settings > Advanced > Network.
- Check Dynamically change bitrate to manage congestion (beta). This prevents hard stream crashes by momentarily dropping stream resolution if local network bandwidth fluctuates.
Method 5: Organize Dynamic Scenes and Studio Audio Routing
A clean scene hierarchy allows you to transition smoothly between segments without fumbling with window captures. Applying proper scene organization within this live streaming setup guide ensures a smooth broadcast workflow:
- Under the Scenes dock, create three standard production scenes: Starting Soon, Main Camera & Screen, and Just Chatting.
- In your main screen scene, add a Game Capture or Window Capture source rather than entire Display Capture to avoid broadcasting private desktop notifications.
- Add a dedicated Audio Output Capture source for your game/music tracks.
- If you play background music or external audio tracks, manage your gain levels carefully. (If your imported soundtrack stems suffer from playback clicks, check our guide on how to fix audio glitches and popping in Premiere Pro to clean your files before going live).
- Run a 15-minute unlisted test stream on YouTube to confirm visual sharpness, latency, and audio balance before opening your broadcast to the public.
Technical Summary Checklist
Following this live streaming setup guide checklist keeps your broadcast stable and professional:
- Hardware Encoding: When supported by your system, hardware encoders such as NVENC or AMF can reduce CPU workload. Choose the encoder that best matches your GPU, software version, and streaming setup.
- Audio Baseline: 48,000 Hz is a common starting point for streaming audio. Keep your microphone, OBS, and other audio sources consistent with the sample rate recommended for your specific setup.
- Network Protocol: A wired Ethernet connection can provide a more stable connection for live streaming. Aim for sufficient upload capacity for your chosen stream bitrate and leave additional bandwidth for normal network activity.
- Peak Protection: An OBS audio limiter can help prevent clipping. A setting around -2.0 dB can be used as a starting point, but adjust the threshold and other audio controls based on your microphone level and overall mix.