
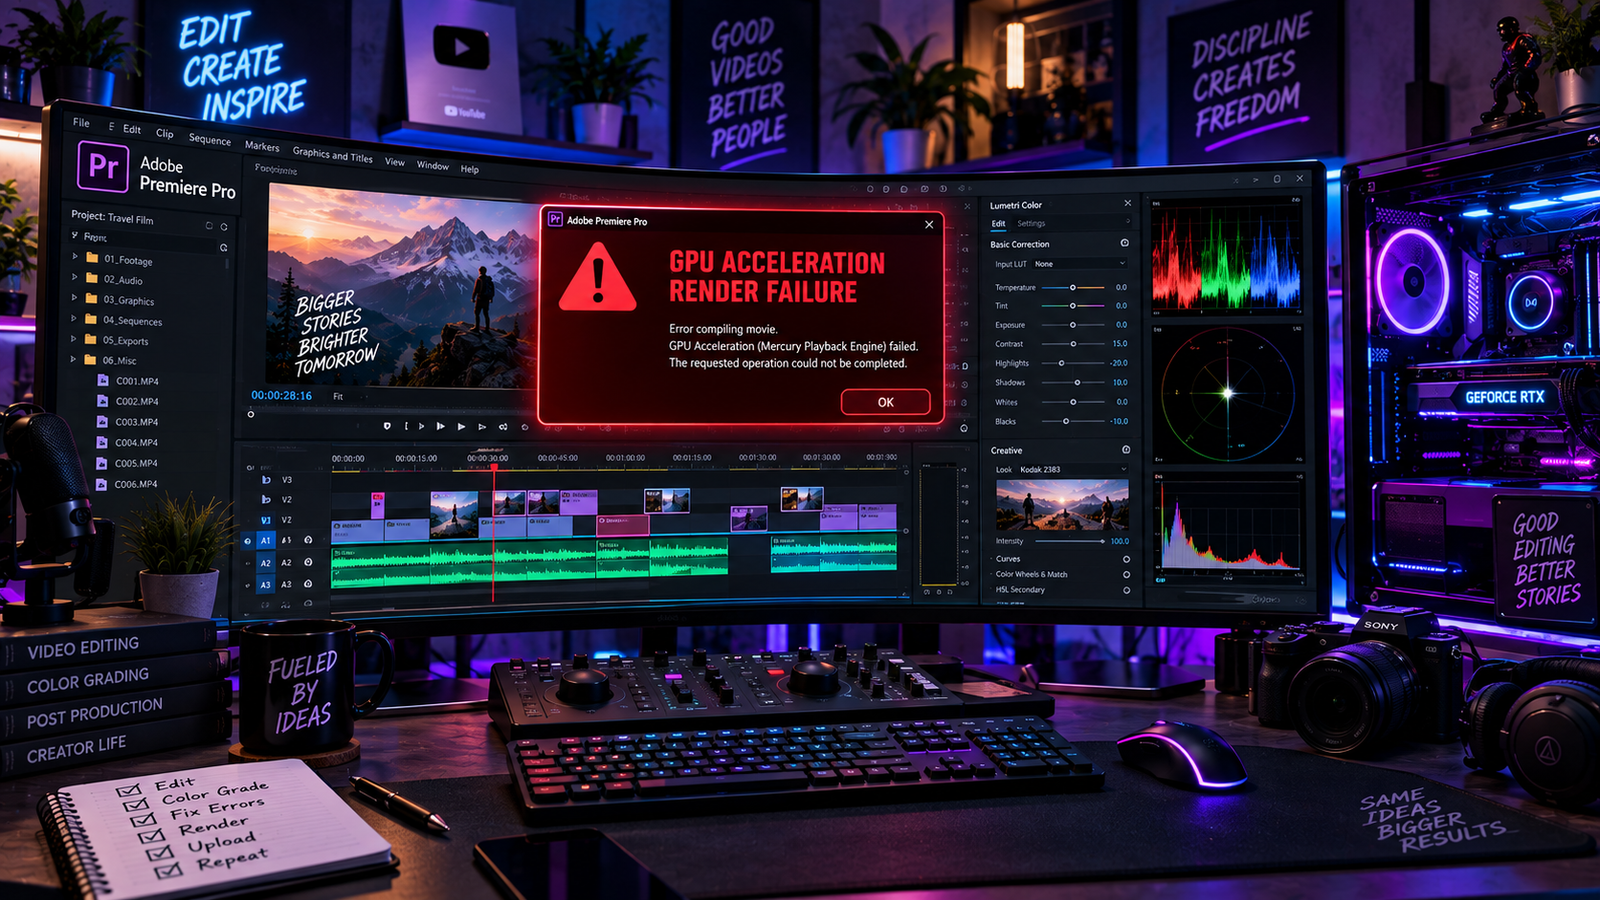
Few things are more frustrating during tight client deadlines than queuing a 4K video export, only for the render to freeze halfway or crash your entire workstation. Dealing with a sudden gpu render error in premiere pro halts delivery pipelines, ruins hours of color grading work, and forces editors into endless trial-and-error troubleshooting.
For professional editors cutting ProRes, REDCODE RAW, or multicam timelines with heavy Lumetri Color passes, GPU failures are rarely random. They almost always trace back to CUDA thread timeouts, corrupted frame buffers, out-of-date Studio drivers, or VRAM memory bottlenecks.
Here are 5 practical troubleshooting steps to resolve a persistent gpu render error in premiere pro and restore rock-solid export reliability.
Table of Contents
Why High-Resolution Timelines Trigger GPU Render Failures
Consumer editing suites crash primarily from system RAM exhaustion. In contrast, professional NLEs like Adobe Premiere Pro rely extensively on the Mercury Playback Engine to offload color effects, motion graphics, and scaling computations directly to your graphics card.
When Premiere renders an intensive timeline effect across an uncompressed video frame, it requests high-speed VRAM buffer allocation. If a background operating system task or an unstable display driver stalls the graphics pipeline for more than two seconds, Windows triggers a Timeout Detection and Recovery (TDR) reset. When this pipeline breaks, Premiere terminates the process and flags an accelerated renderer fault.
Keeping your core timeline assets clean is essential for reliable exports. (If you also manage lightweight editing machines or mobile edits, reference our complete walkthrough on how to fix Filmora export errors and CapCut crashes to resolve basic timeline failures).
Method 1: Switch to Workstation & Certified Studio Drivers (Clean Installation)
A frequent contributor to rendering crashes on professional editing workstations is using consumer Game Ready graphics drivers instead of dedicated production drivers certified for NLE stability.
For NVIDIA GeForce & RTX Users:
- Open the NVIDIA app or GeForce Experience on your editing rig.
- Navigate to the Drivers tab.
- Click the three dots menu next to the latest driver version and ensure Studio Driver is selected rather than the Game Ready branch.
- Download the package, choose Custom Installation, and check the box for Perform a clean installation.
- Restart your workstation completely. Studio drivers are tested against production software and stop random gpu render error in premiere pro interruptions caused by experimental gaming optimizations.
For AMD Radeon & Radeon PRO Users:
- Consumer Radeon GPUs (RX Series): Open AMD Software: Adrenalin Edition, check for updates, and stick strictly to the WHQL Recommended release branch rather than optional beta drivers.
- Enterprise Radeon PRO Users: If you run supported workstation hardware, download and install AMD Software: PRO Edition, which is certified for enterprise OpenCL pipelines and multi-stream timeline stability.
- Run the installer using the Factory Reset option to clear corrupt driver caches.
- Reboot your system and launch Premiere Pro.
Applying certified production drivers provides stable compute threads to permanently resolve a gpu render error in premiere pro during heavy multi-camera exports.
Method 2: Adjust Windows TDR Delay in Registry
When rendering complex Lumetri Color grades or noise reduction, your GPU may take several seconds to compute a single high-bitrate frame. By default, Windows assumes the graphics card has frozen if it does not respond within 2 seconds, forcibly killing Premiere’s render process.
⚠️ Caution (Registry Backup): Modifying the Windows Registry without a backup can cause system instability. Always create a manual Windows Restore Point or export your GraphicsDrivers key (
File > Exportin Registry Editor) before making changes. If you encounter any unexpected display behavior, delete these two added DWORD keys to roll back to Windows defaults.
- Press
Win + R, typeregedit, and hit Enter. - Navigate to:
HKEY_LOCAL_MACHINE\SYSTEM\CurrentControlSet\Control\GraphicsDrivers - Right-click on the right pane, select New > DWORD (32-bit) Value, and name it
TdrDelay. - Double-click
TdrDelay, set the base to Decimal, and change the value to 8 (giving your GPU 8 seconds to render complex frames). - Create a second DWORD named
TdrDdiDelay, set its decimal value to 8, and click OK. - Reboot your PC. Extending recovery headroom prevents premature gpu render error in premiere pro timeline timeouts.
Method 3: Clear Media Cache and Switch to Software Encoding Preset
Corrupted video frame previews stored in the scratch drive frequently crash hardware rendering threads at the exact same timecode during export.
(Note: A corrupted media cache can also desynchronize your timeline playback; if you are encountering sound drift alongside visual freezes, see our guide on how to fix audio out of sync in Premiere Pro to align your audio tracks).
- Open Premiere Pro without opening any project (stay on the Home screen).
- Navigate to Edit > Preferences > Media Cache (or Premiere Pro > Preferences > Media Cache on macOS).
- Click Delete next to Remove Media Cache Files, select Delete all media cache files from the system, and confirm.
Switching Export Video Encoding to Software:
In modern Premiere Pro releases where legacy software-only playback is unavailable, isolating codec hardware acceleration happens directly in the export panel:
- Open your timeline and switch to the Export tab (or press
Ctrl + M/Cmd + M). - Under Video Settings, expand the Encoding Settings tab.
- Switch Performance from Hardware Encoding to Software Encoding.
- Re-export your project.
If the export finishes successfully using Software Encoding, it strongly indicates that your GPU hardware encoder chip (NVENC/VCE) or display driver hit a memory threshold, rather than bad source footage. This diagnostic method effectively bypasses a sudden gpu render error in premiere pro when you have a pressing client deadline.
💡 Creator Resource: Facing stubborn driver crashes, timeline audio bugs, or plugin render errors? Search our comprehensive Creator Troubleshooting Database: 5,000+ Production Fixes to resolve editing and rendering bottlenecks in seconds.
Method 4: Render In-To-Out to Isolate Corrupted Video Frames
A GPU render failure often strikes at an exact timecode (for example, consistently freezing at 42%). This indicates a corrupted source frame or an overloaded third-party transition rather than an overall hardware failure.
- Check your export error log and take note of the exact failed timecode.
- In your timeline, locate the exact frame where the render stalls.
- Set an In point (I) two seconds before the crash mark and an Out point (O) two seconds after.
- Navigate to Sequence > Render In to Out.
- If the render fails, toggle off video tracks one by one, or temporarily disable adjustment layers containing Lumetri Luminescence or third-party sharpeners. For deep technical codec specifications and frame container debugging, consult the official Adobe Premiere Pro User Guide before rebuilding complex effect stacks.
Testing timeline segments one by one helps pinpoint whether a broken asset is triggering a gpu render error in premiere pro before you commit to a full sequence export.
Method 5: Disable Hardware-Accelerated Decoding and Optimize System Memory
When editing multi-stream 4K 10-bit H.264 or HEVC files, consumer hardware decoding engines can overwhelm your dedicated VRAM and crash the background render queue.
- Inside Premiere Pro, go to Edit > Preferences > Media.
- Uncheck Enable hardware-accelerated video decoding (requires restart).
- Click OK, restart Premiere Pro, and launch your project.
- Next, open Edit > Preferences > Memory.
- Check your RAM reserved for other applications and keep 15% to 20% reserved for your operating system, allocating the rest exclusively to Adobe applications.
- Ensure under File > Project Settings > Scratch Disks that your temp files are stored on a high-speed internal NVMe SSD rather than your main operating system boot partition.
Bypassing unoptimized hardware decoding while balancing memory headroom prevents recurring gpu render error in premiere pro aborts on demanding master sequences.
Technical Summary Checklist
- Studio Drivers: Exclusively run certified NVIDIA Studio drivers or WHQL Recommended AMD drivers on editing workstations.
- TDR Threshold: Extend system registry TDR delay to 8 seconds to accommodate heavy color grading passes safely.
- Software Encoding: Switch export performance to Software Encoding when facing a persistent gpu render error in premiere pro.
- Cache Integrity: Routinely purge Media Cache files to stop corrupted frame data from triggering timeline errors.
- Audio Routing: If you capture or edit multi-channel commentary feeds alongside video, review our dual pc streaming setup audio guide to eliminate audio drift and buffer overruns.
Frequently Asked Questions (FAQ)
How do I bypass a gpu render error in premiere pro on a tight deadline?
In the modern Premiere Pro Export window, go to Video > Encoding Settings and change Performance from Hardware Encoding to Software Encoding. This forces CPU frame compression and bypasses the GPU encoder deadlock.
What triggers a gpu render error in premiere pro during 4K exports?
These errors usually happen when timeline effects take longer to calculate than the operating system timeout window, when an unhandled plugin conflicts with your compute API, or when dedicated VRAM runs out on heavy color grades.
Why is running Studio drivers better than Game Ready drivers for editing?
Studio drivers are branched and tested specifically for video editing suites and 3D applications, offering stability for CUDA and OpenCL tasks rather than day-one game performance tweaks.