
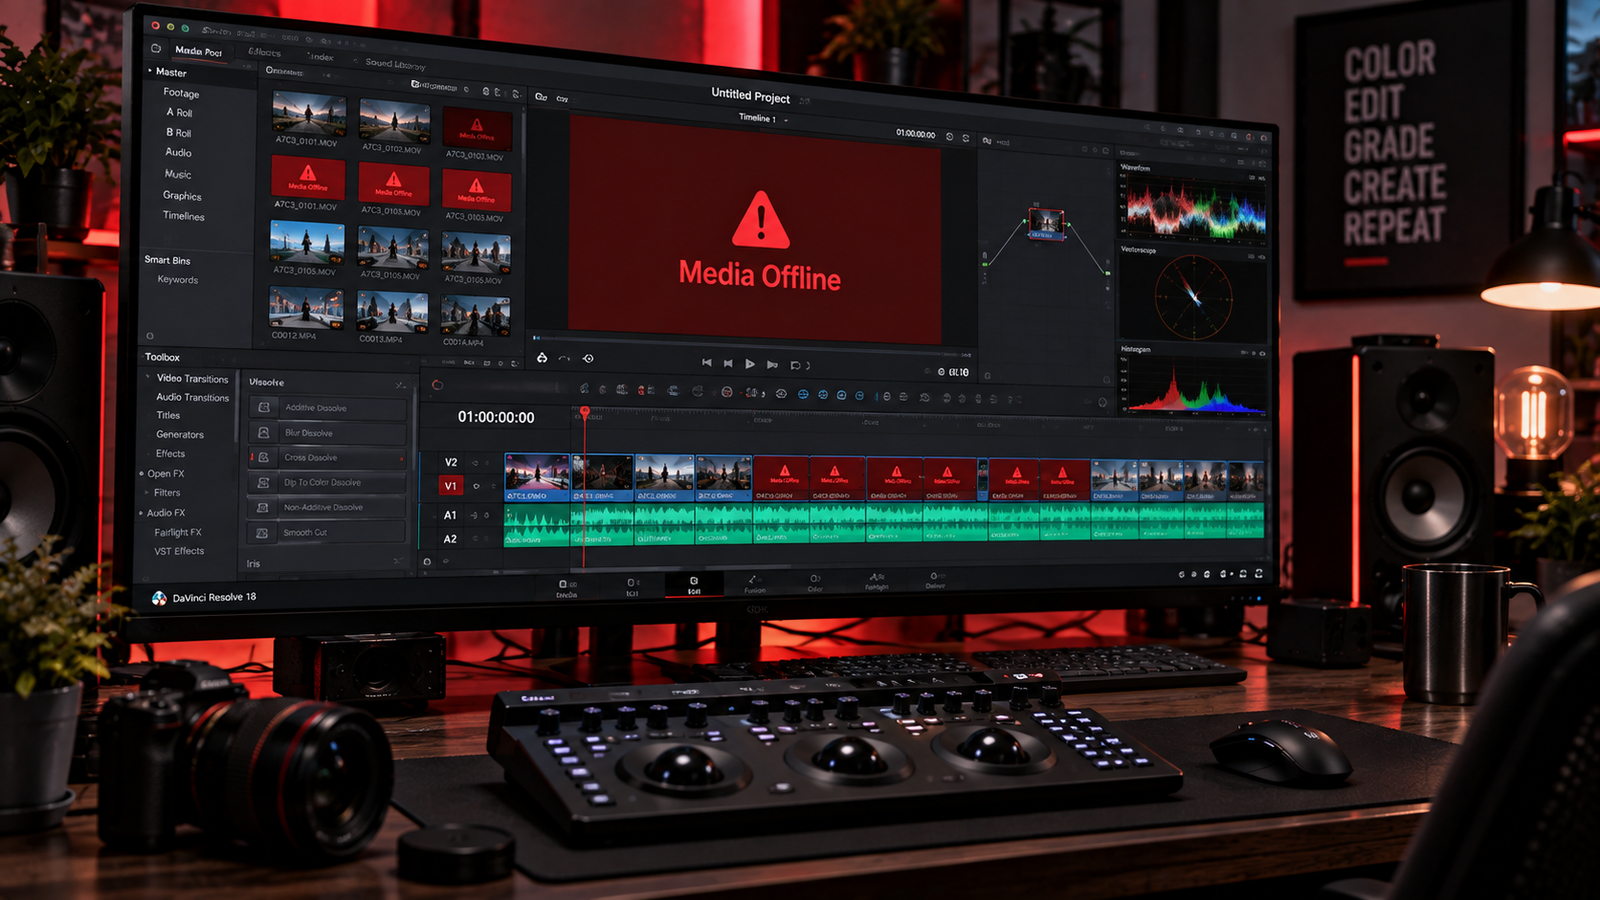
Opening an existing project only to see bright red thumbnails flashing across your timeline is a stressful experience for any video editor. Learning how to fix davinci resolve media offline errors is essential when directory paths change, external hard drives disconnect, or system decoders fail to read your source video streams.
Unlike consumer video editors that embed raw clips directly into project files, Blackmagic Design’s software references footage from its original storage directory. When folders move or volume letters shift in Windows or macOS, knowing how to fix davinci resolve media offline warnings helps you restore your edit without losing hours of work.
In this practical troubleshooting guide, we walk you through 5 reliable methods on how to fix davinci resolve media offline without disturbing your cut points, color grades, or audio sync.
Table of Contents
Why DaVinci Resolve Shows Media Offline
The red offline screen is primarily a missing directory reference indicator rather than permanent file damage. Understanding the root causes helps you master how to fix davinci resolve media offline efficiently:
- Drive Letter Reassignments: Windows frequently assigns an alternate drive letter (such as switching from D: to E:) when external USB storage is reconnected.
- Moved or Renamed Directories: Renaming a parent folder or transferring source assets outside the original directory breaks the recorded database file path.
- Storage Volume Unavailability: Disconnected NAS volumes, sleeping external drives, or unmounted partitions instantly break active media pointers.
- Corrupted Preview Cache Files: Stale or corrupted render cache data can sometimes contribute to an incorrect offline-looking display or playback freeze, even when raw files remain on disk.
If your creative pipeline also involves live broadcasting and capture software, check our foundational live streaming setup guide to align your hardware encoding and recording formats.
Method 1: Use the Relink Media Tool in Media Pool
The primary and most direct workflow when discovering how to fix davinci resolve media offline across an entire bin is using Resolve’s dedicated relinking tool.
- Open your affected project and switch to the Media or Edit page.
- In the top toolbar of the Media Pool panel (located next to the search box and bin view options), click the red Relink Media button.
- In the directory browser window, navigate to the folder or root drive where your source footage is currently stored.
- Click Select Folder. DaVinci Resolve will scan the folder hierarchy and automatically reconnect all missing assets.
- If specific clips remain unlinked, you can highlight them, right-click, and select Relink Selected Clips to point directly to a specific subfolder. For system-level directory conflicts, check the official Blackmagic Design Support Center for hardware configuration guidance.
Understanding this quick batch process is the first step in learning how to fix davinci resolve media offline after moving project folders.
Method 2: Remap Source Folder Paths Manually
If you have migrated an entire production directory to a secondary drive or renamed your archive folders, remapping the source path updates all nested clips in one step.
- Open the Media Pool and select the offline clips or bins you need to reconnect.
- Right-click the selected clips and choose Change Source Folder.
- In the dialog box, review the Original Path shown on the left.
- Set the updated folder location under the New Path column on the right.
- Click Change. DaVinci Resolve will update the file paths across all selected clips without requiring individual clip reassignment.
Using this path-remapping method is a critical step when editors research how to fix davinci resolve media offline after transferring project libraries across different editing workstations.
Method 3: Transcode Variable Frame Rate (VFR) Clips for Stable Decoding
While missing storage paths account for general offline errors, clips recorded on smartphones or screen capture software frequently use Variable Frame Rates (VFR). When DaVinci Resolve’s decoder stumbles over irregular frame timestamps, it can drop frames or freeze playback mid-clip.
- Download the free and open-source transcoder HandBrake.
- Open HandBrake and load your problematic recording.
- Under the Video tab, locate the Framerate (FPS) settings.
- Set the frame rate to match your project timeline (such as 30 or 60 FPS) and strictly select Constant Framerate (CFR) instead of Peak Framerate.
- Set the Video Codec to H.264 for a standard, widely compatible Constant Frame Rate MP4. Refer to the official HandBrake Documentation if you need assistance configuring encoder bitrates. (Note: If your workflow specifically calls for editing intermediates like Apple ProRes or Avid DNxHR, utilize dedicated conversion tools like Shutter Encoder or DaVinci Resolve’s built-in Proxy Generator).
- Export the transcoded CFR file.
- Return to DaVinci Resolve, right-click the problematic clip in the Media Pool, choose Replace Selected Clip, and point to the newly transcoded CFR file.
Targeting problematic mobile clips is a dependable strategy on how to fix davinci resolve media offline dropouts caused by non-standard capture codecs.
💡 Creator Resource: Facing stubborn driver crashes, timeline audio bugs, or plugin render errors? Search our comprehensive Creator Troubleshooting Database: 5,000+ Production Fixes to resolve editing and rendering bottlenecks in seconds.
Method 4: Clear Corrupted Render Cache and Optimized Media
Sometimes your source files are completely safe, but stale or damaged timeline render cache files can contribute to playback freezes or display an incorrect offline placeholder screen.
- In the top application menu bar, click on Playback.
- Navigate down to Delete Render Cache.
- Choose All to flush timeline preview caches safely (Resolve can regenerate these on demand).
- If you work with proxies, go to Playback > Proxy Handling and toggle between Prefer Proxies and Disable Proxies to verify whether full-resolution source media loads correctly.
- Restart DaVinci Resolve to allow the software to build fresh cache references.
Flushing stale scratch data is a simple, non-destructive step when exploring how to fix davinci resolve media offline warnings without modifying project files.
Method 5: Assign Static Drive Letters in Windows Disk Management
When working off external USB drives, Windows frequently changes the assigned drive letter upon reconnection. Locking a permanent drive letter helps prevent future path breaks.
- Press
Windows + Xand select Disk Management. - Locate your external media drive in the bottom list.
- Right-click the partition and select Change Drive Letter and Paths.
- Click Change, and choose a drive letter further down the alphabet (such as
M:,P:, orZ:). - Click OK to confirm the assignment.
- Open DaVinci Resolve and run a one-time relink to the newly assigned letter.
Setting a static drive letter helps prevent future offline errors caused by drive-letter changes across your editing sessions.
If your productions also include complex external audio feeds or live commentaries, read our dual pc streaming setup audio guide to prevent clock drift and sync errors during ingestion.
DaVinci Resolve Media Offline Troubleshooting Matrix
| Problem Indicator | Likely Root Cause | Recommended Troubleshooting Step |
|---|---|---|
| Entire timeline displays red offline screens | External drive disconnected or drive letter changed | Use the Relink Media button or Change Source Folder |
| Random offline flashes on mobile recordings | Variable frame rate (VFR) decoding conflict | Transcode footage to Constant Frame Rate (CFR) MP4 via HandBrake |
| Playable in VLC but offline in Resolve | Codec compatibility or system file-path mismatch | Remap file path or transcode to ProRes/DNxHR using a dedicated transcoder |
| Clip displays offline only during playback | Corrupted render cache or broken proxy index | Go to Playback > Delete Render Cache > All |
Frequently Asked Questions (FAQ)
Will relinking offline media change my cuts or color grades?
When using standard Relink Media, DaVinci Resolve reconnects your existing metadata to the original source file at its new folder location. Because project edit decisions are stored in the project library rather than the media files, your cut points, keyframes, transitions, and node color grades remain intact.
However, if you choose to Replace Selected Clip with a newly transcoded file, make sure the replacement file shares the exact same start timecode and duration to prevent edit shifts across your timeline cuts.
Why does DaVinci Resolve say media offline when the file is still on my computer?
DaVinci Resolve uses exact absolute file paths. If a folder was renamed, if media was moved to a different directory, or if Windows changed an external drive letter, the software can no longer locate the file at its recorded address.
What is the most effective approach on how to fix davinci resolve media offline caused by phone footage?
Transcode the mobile recording into a Constant Frame Rate (CFR) H.264 MP4 file using HandBrake (or use Shutter Encoder if converting directly to ProRes/DNxHR). Then, right-click the clip in the Media Pool and select Replace Selected Clip to restore smooth decoding on your timeline.