
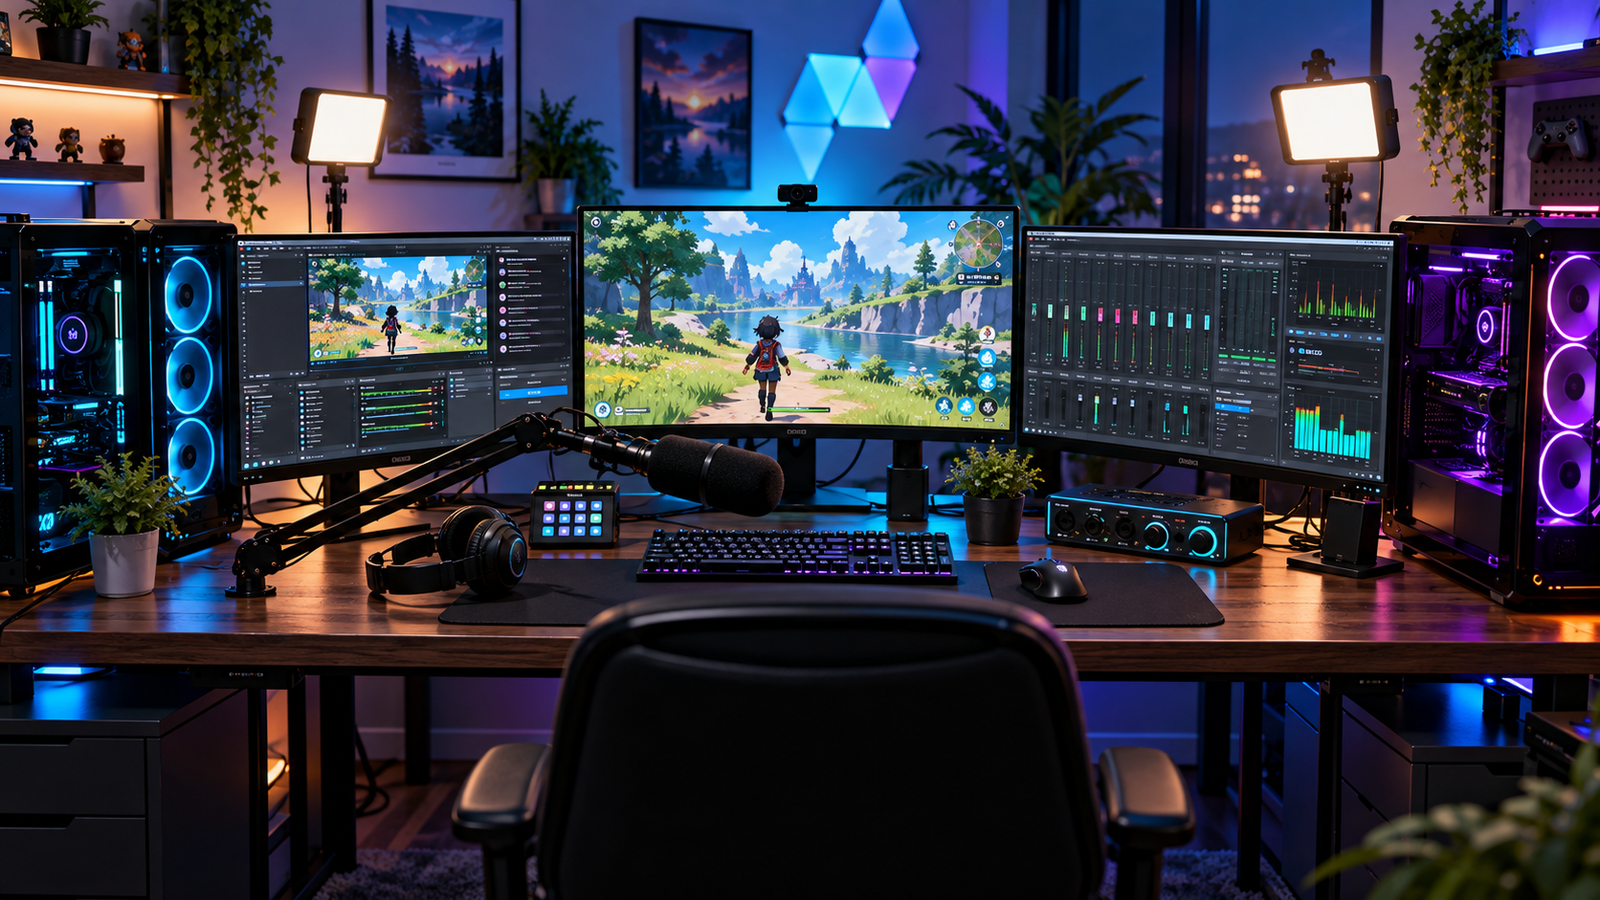
A dedicated two-computer broadcast configuration offers significant processing advantages for high-framerate gameplay and dedicated encoder output. However, routing multi-track audio cleanly between both systems remains a common stumbling block for creators. Following a dependable dual pc streaming setup audio guide is essential to prevent timing drift, electrical buzzing, and echo loops between your gaming and encoding rigs.
When your primary gaming PC handles graphics rendering, physics, and voice chat, transferring those audio streams to a secondary capture workstation requires deliberate routing. Without an organized dual pc streaming setup audio guide, broadcasters frequently encounter distorted microphone signals, progressive audio desync, or dropped communication channels.
This practical walkthrough details hardware configurations, software bridging options, electrical ground isolation, and precise millisecond sync calibration in OBS Studio.
Table of Contents
Why Audio Routing Breaks in Two-PC Environments
In a single-PC setup, your broadcast software records audio directly from the internal operating system mixer. With two systems, audio data must cross physical cables or local networks.
The primary points of failure addressed by this dual pc streaming setup audio guide include:
- Clock and Sample-Rate Differences: When your gaming rig runs at 44.1 kHz while your capture hardware or streaming software is set to 48 kHz, the sample mismatch can cause gradual timing drift over longer sessions.
- Ground Loop Noise: Interconnecting audio cables between two separate desktop towers sharing different ground potentials frequently introduces an audible 50 Hz or 60 Hz mains hum through unbalanced 3.5mm lines.
- Divergent Processing Latency: Video capture cards take time to process and buffer incoming video frames. Because this visual pipeline differs from an analog microphone line connected directly to the streaming PC, your audio and video arrive out of alignment.
If you are structuring your broadcast profiles from scratch alongside this article, reference our foundational live streaming setup guide to verify matching frame rates and encoder resolutions.
Method 1: Hardware-Based Routing (Audio Interface or Mixer)
Using physical hardware routing provides a dependable, low-latency foundation for dual-machine audio pipelines.
1. Multi-Output Interface Configuration
Using an audio interface or hardware mixer equipped with suitable independent outputs provides flexible signal distribution with minimal additional latency:
- Microphone Input: Connect your broadcast XLR microphone directly to the interface preamp.
- Voice Communications: Send your microphone signal over USB to the Gaming PC for in-game lobbies and Discord.
- Broadcast Submix: Send an analog line output—or a digital optical output where supported by your interface hardware—into the Line-In or optical port of your Streaming PC.
- Game Audio Monitoring: Route the Gaming PC’s main sound output to your interface inputs, allowing you to monitor game audio in your headphones while forwarding a clean submix to the encoder.
2. Eliminating Ground Loop Hum
Connecting unbalanced 3.5mm auxiliary cables between two AC-powered computers frequently produces a low-frequency electrical buzz. Rather than relying solely on software noise gates, install an inline 3.5mm Ground Loop Isolator. This passive component utilizes isolation transformers to magnetically transfer the audio signal without a direct electrical ground connection, stopping hum at the source.
Installing an inline transformer as recommended in this dual pc streaming setup audio guide prevents unwanted AC current from bleeding into your line inputs while preserving audio clarity.
Method 2: Digital Audio Routing via Capture Card HDMI
For creators utilizing internal PCIe or external USB capture cards, routing game audio directly over the HDMI display pipeline avoids extra analog cables.
- On your Gaming PC, open Windows Settings > System > Sound.
- Set your primary output device to your connected capture card (such as an Elgato or AVerMedia interface).
- If you want to listen through your local gaming headset while simultaneously mirroring audio down the HDMI connection, open the classic Sound Control Panel (
mmsys.cpl). - Switch to the Recording tab, locate Stereo Mix (if supported by your motherboard’s audio drivers), right-click it, and select Properties.
- Under the Listen tab, check Listen to this device, and select your capture card HDMI output from the playback dropdown.
- Click Apply and test playback.
Applying this capture card passthrough route completes a major milestone in your dual pc streaming setup audio guide without adding expensive hardware mixers.
💡 Creator Resource: Facing persistent driver crashes, timeline audio bugs, or plugin render errors? Search our comprehensive Creator Troubleshooting Database: 5,000+ Production Fixes to resolve editing and rendering bottlenecks in seconds.
Method 3: Network Audio Streaming via VBAN
Creators who prefer not to add extra audio cables can transfer multi-channel sound across a local Gigabit network using VB-Audio’s VBAN protocol.
- Download and install VoiceMeeter Banana or Potato on both the Gaming PC and the Streaming PC via the official VB-Audio Software Portal.
- Connect both desktop rigs to the same local network using wired Gigabit Ethernet cables to prevent wireless packet drops.
- Open VoiceMeeter on your Gaming PC, click the VBAN button in the upper-right corner, and toggle the master switch to ON.
- In the Outgoing Streams panel, configure a new channel:
- Stream Name: Enter an identifier, such as
GameAudio. - IP Address To: Enter the local static IPv4 address of your Streaming PC.
- Sample Rate: Select 48000 Hz across both computers to maintain a consistent sample clock across the entire broadcast chain.
- Stream Name: Enter an identifier, such as
- On the Streaming PC, launch VoiceMeeter, open the VBAN panel, enable the master switch, and create an incoming stream listening for the exact stream name
GameAudio.
Testing local network throughput ensures your dual pc streaming setup audio guide workflow avoids buffer underruns during fast-paced competitive gameplay. If you work with recorded media in post-production and encounter sync issues, read our guide on how to fix audio out of sync in Premiere Pro to realign timeline audio tracks.
Method 4: Calibrate Audio Sync Delay in OBS Studio
Because video capture hardware buffers and scales video frames through a processing pipeline, audio arriving via an analog microphone or USB interface often hits your stream slightly ahead of your camera or game video.
Calibrating offset timings accurately is a core step in this dual pc streaming setup audio guide:
- On your Streaming PC, open OBS Studio and navigate to the Audio Mixer panel.
- Click the three dots (or gear icon) below any active audio source and select Advanced Audio Properties. Consult the official OBS Studio Documentation if you need detailed descriptions of internal audio routing tracks.
- Locate your dedicated commentary microphone and your primary desktop capture source.
- Perform an audiovisual alignment test: record a short 20-second test video while clapping your hands firmly in front of your facecam.
- Import the test recording into an editor or review it frame-by-frame. Observe how many milliseconds the audio clap transient occurs before your hands visually make contact on screen.
- Enter that measured delay value into the Sync Offset (ms) field for your microphone channel in OBS.
Fine-tuning your delay values ensures that this dual pc streaming setup audio guide produces perfectly matched reactions across multi-hour streams.
If your secondary computer experiences rendering stutters during heavy scene transitions, review our practical guide on how to resolve a gpu render error in premiere pro to understand hardware resource allocation and GPU encoding limits.
Dual PC Audio Configuration Checklist
Use the reference matrix below to audit your dual pc streaming setup audio guide settings before launching your live stream:
| Audio Parameter | Recommended Configuration | Primary Function |
|---|---|---|
| Sample Rate | 48 kHz (Shared across both PCs) | Keeps sample-rate settings consistent to avoid drift |
| Physical Isolation | 3.5mm Ground Loop Isolator | Eliminates mains-frequency electrical buzz on analog lines |
| Capture Route | HDMI or Dedicated Multi-Out Interface | Delivers low-latency multi-channel audio transport |
| OBS Sync Offset | Measured Millisecond Value | Compensates for capture-card video processing latency |
| Network Link | Wired Cat6 Gigabit Ethernet | Ensures dropped-packet protection for VBAN audio streams |
Frequently Asked Questions (FAQ)
What is the most reliable approach in this dual pc streaming setup audio guide?
The most stable workflow uses a hardware audio interface or mixer with independent physical outputs. Routing your microphone directly into the hardware and splitting dedicated line outputs to each computer significantly reduces reliance on software routing and network stability.
Why does a dual-PC audio setup develop a loud humming noise?
Connecting two computers plugged into wall power using standard 3.5mm auxiliary cables creates a ground loop, where slight voltage differences between the system chassis generate an audible 50 Hz or 60 Hz electrical buzz. Installing a passive 3.5mm ground loop isolator effectively breaks the electrical loop to clear standard ground hum.
Why do game sounds drift out of sync over a multi-hour stream?
Audio drift typically occurs when your two systems operate on mismatched sample rates (such as one PC running at 44.1 kHz and the other at 48 kHz). Setting every audio device, driver, and software profile across both computers to a uniform 48 kHz standard minimizes timing drift over extended broadcasts.